 Birch Bay Siding
 New-Construction Windows for Birch Bay Village: Getting the Envelope Right From Day One
Birch Bay Village is one of the established residential communities in Birch Bay, and like the rest of this stretch of Whatcom County shoreline, it sits close enough to the water to deal with salt-laden marine air, long stretches of wind-driven rain, and a moss and mildew season that can run for most of the year on shaded elevations. New-build homes going up on remaining lots in and around Birch Bay Village face that same exposure from the very first day the windows go in, which is exactly why new-construction window installation deserves the same level of attention as the framing or the roof structure — not an afterthought once the walls are up.
New construction gives a contractor something a replacement job never does: a fully open wall assembly, with no existing siding, trim, or old flashing to work around. That's an advantage, but only if it's used correctly. Get the sill pan, the flashing sequence, and the water-resistive barrier integration right while the wall is open, and the window will perform for decades. Skip a step or rely on caulk to make up for it, and the mistake gets sealed behind siding where nobody will see it again until there's a moisture problem inside the wall.
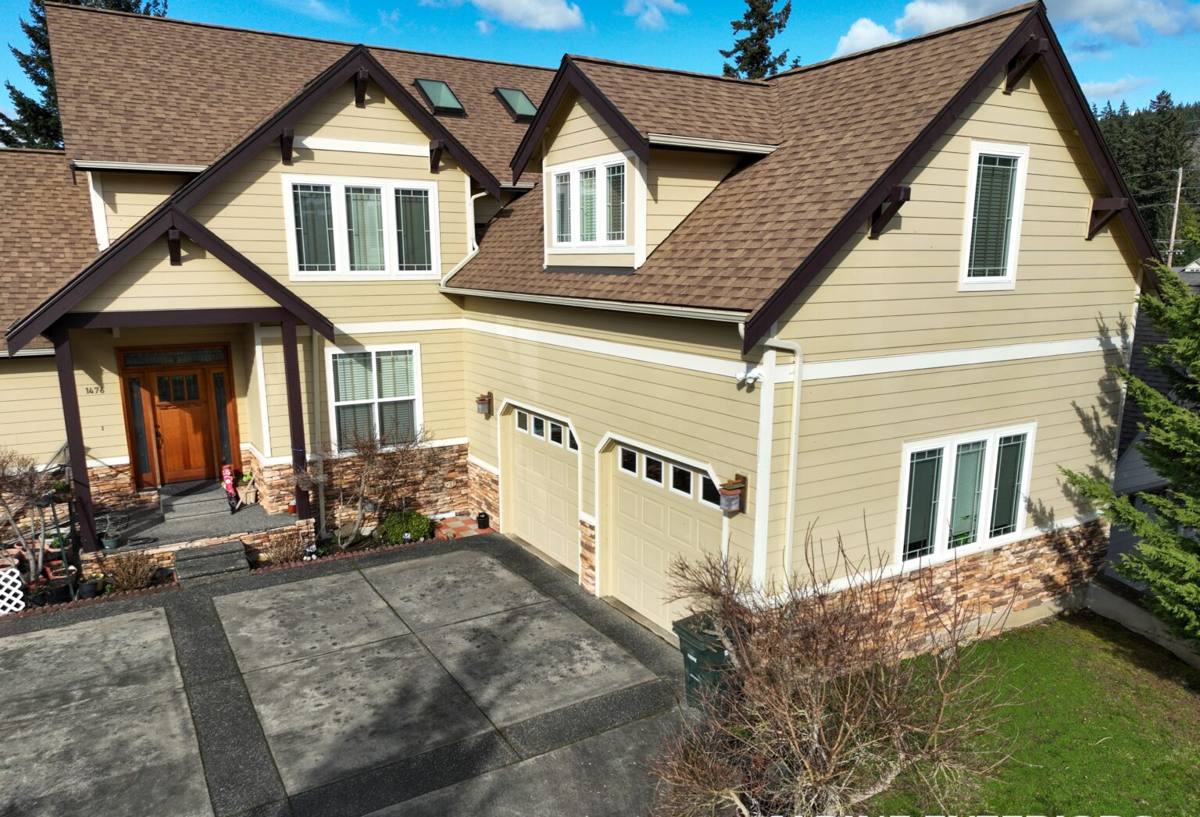
New Construction vs. Replacement Windows: Not the Same Job
New-construction windows and replacement windows are built and installed differently, and treating them as interchangeable is one of the more common ways a new build ends up with water problems down the line. New-construction windows typically have a nailing flange around the perimeter of the frame, designed to be fastened directly to the wall sheathing before the water-resistive barrier and siding go on. Replacement windows are usually built without that flange, sized to fit into an existing rough opening from the inside or outside of a wall that's already finished.
On a new build, using the correct flanged window and integrating it into the wall assembly in the right order — sheathing, sill pan, window, flashing tape, water-resistive barrier, then siding — is what gives the installation its long-term water resistance. There's no old finish or existing trim to work around, so there's also no excuse for skipping any part of that sequence.
What This Climate Demands From New-Construction Windows
Salt Air and Hardware Corrosion
Birch Bay's shoreline location means homes here take more direct salt exposure than properties further inland in Whatcom County. Salt accelerates corrosion on lower-grade fasteners, hinges, and locking hardware, and it can shorten the working life of hardware that would otherwise hold up fine in a drier climate. On a new build, that's a decision made at the specification stage — corrosion-resistant hardware and fasteners belong on the window schedule from the start, not added later as a fix.
Driving Rain and Sill Pan Flashing
Wind off the bay pushes rain sideways into wall assemblies rather than letting it fall straight down, and that wind-driven rain finds its way into any rough opening that isn't properly pan-flashed and sealed. A sill pan under a new-construction window creates a sloped, sealed catch basin that directs any water that does get past the window back out to the exterior instead of into the framing below. It's a small detail that takes a few extra minutes during a new build and makes a real difference over the life of the house.
Moss Season and Drainage Behind the Cladding
Mild temperatures and near-constant moisture through much of the year support a long moss and mildew season across this part of Whatcom County, particularly on shaded or north-facing walls. New-construction window installation should account for that by making sure the drainage plane behind the siding — the gap or rain-screen detailing that lets incidental moisture drain and the wall assembly dry — ties in cleanly around every window opening, not just across the flat wall sections.
What Correct New-Construction Installation Involves
A properly installed new-construction window is the product of a sequence, not a single step. Skipping or reordering any part of it is how homes end up with hidden rot behind siding that looks fine from the outside.
- Rough opening checked for correct size, square, and level before the window ever arrives on site
- Sill pan flashing installed and sealed to create a sloped, watertight catch basin at the base of the opening
- Water-resistive barrier lapped correctly at the sides and head of the opening before the window is set
- Window set, shimmed, and fastened per the manufacturer's schedule — not just at a few convenient points
- Flashing tape applied in the correct shingle-lap order at the sides and head so water is always directed outward and down
- Sealant used to supplement the flashing system, never substituted for it
- Drainage plane and siding tied in around the finished opening so the wall assembly can dry if moisture ever does get in
Meeting Washington's Energy Code and Egress Requirements
New-construction windows in Washington also have to satisfy the state energy code's performance requirements for this climate zone, along with building code egress requirements for bedroom windows. That means the glazing package specified — the U-factor and solar heat gain performance of the glass — has to meet or exceed current code minimums, and any window serving as an emergency escape opening in a bedroom has to meet minimum clear opening dimensions. Those aren't details to work out after the windows are ordered; they belong on the window schedule from the start of the build, coordinated with whoever is pulling permits and handling inspections.
Choosing Window Products for a Birch Bay Village New Build
We install vinyl and fiberglass window systems suited to a wet, mild, salt-exposed climate, and we talk through the real trade-offs with homeowners and builders rather than pushing one brand as the only right answer. What matters most for a new build in Birch Bay Village is a well-engineered, properly flanged frame, a glazing package that performs for both energy code compliance and condensation resistance, and hardware rated for sustained marine air exposure.
| Frame Material | Corrosion Resistance | Dimensional Stability | Typical Fit for New Construction |
|---|---|---|---|
| Vinyl | Good; no metal frame to corrode | Can expand/contract with heat, generally stable in this mild climate | Cost-effective, widely available flanged options |
| Fiberglass | Excellent; very stable material | Minimal expansion/contraction across temperature swings | Higher upfront cost, strong long-term performance |
| Vinyl-clad wood | Good on exterior face, interior wood still needs protection from any leak | Stable if properly clad and flashed | Common where a wood interior finish is wanted |
| Uncladded wood | Poor without diligent maintenance | Prone to swelling and warping with sustained moisture | Higher maintenance burden in this climate |
Coordinating With Builders, GCs, and the Build Schedule
New-construction window work rarely happens in isolation — it's one piece of a larger build schedule that a general contractor or homeowner-builder is managing. We work from the window schedule and plan set, confirm sizes and configurations before ordering given the lead times custom windows can carry, and time the installation to the framing and water-resistive barrier stages so siding crews aren't waiting on us or working around an incomplete flashing detail. On a Birch Bay Village build, that coordination matters more than it might inland, since a delay that leaves a wall open to wind-driven rain for an extra week is a bigger risk here than it would be in a more sheltered location.
Why a Crew That Already Works Birch Bay Village Matters
A contractor who already works this part of Birch Bay knows how exposed a given lot is likely to be, how wind and driving rain behave on this stretch of shoreline, and which flashing and drainage details are worth the extra attention on a new build here versus a more sheltered inland site. That familiarity shows up in decisions that are easy to get wrong from a distance — how much lap a flashing detail needs, whether a particular elevation needs extra drainage detailing, which hardware grade actually holds up. On a new build, those are decisions made once, and then they're sealed behind the siding for the life of the house.
A Simple Checklist Before Hiring for New-Construction Window Work
- Ask specifically how they handle sill pan flashing and water-resistive barrier integration, not just what window brand they install
- Confirm current Washington contractor licensing and active liability insurance
- Get a written window schedule that matches sizes, configurations, and code-required performance to the plan set
- Ask how they coordinate scheduling with the general contractor and siding crew so the wall isn't left exposed longer than necessary
- Get a written scope that separates the manufacturer's product warranty from the contractor's installation warranty
Our Process
We start by reviewing the plan set and window schedule with the builder or homeowner, confirming sizes, configurations, and code-required performance before anything is ordered. On site, we check each rough opening for square and correct sizing, install sill pan flashing and water-resistive barrier integration as standard practice on every window, and set and fasten each unit to the manufacturer's schedule. We coordinate timing with the framing and siding trades so the building envelope isn't left exposed to Birch Bay's weather any longer than it has to be.
If you're building or managing a new-construction project in Birch Bay Village and want windows installed correctly the first time, we're happy to walk through the plans and give an honest, no-pressure estimate.