 Birch Bay Siding
 Birch Bay Village sits close enough to the water that siding here takes on stress most Whatcom County neighborhoods further inland never deal with. Salt-laden air works on fasteners and trim year-round, storms push rain sideways into joints and corners instead of letting gravity do the work, and the shade and dampness common on this stretch of coast support a moss and mildew season that can run most of the year on north- and west-facing walls. Repair work in this neighborhood is rarely as simple as swapping one damaged board for a new one.
We treat siding repair as its own discipline, separate from a full re-side. It calls for an honest read on whether a section can actually be repaired cleanly or whether patch work is just delaying a bigger job, and it calls for material and installation choices that hold up to the specific exposure here rather than generic manufacturer guidance written for a calmer climate.
Why Siding Repair Looks Different in Birch Bay Village
A few conditions specific to this stretch of coastline drive most of the repair calls we get. Salt air accelerates corrosion on fasteners, flashing, and lower-grade trim components faster than a drier inland setting would, so failures that would take decades to show up elsewhere can surface much sooner here. Wind-driven rain tests every joint, seam, and piece of trim on a wall, finding gaps in caulking and flashing that would never get exposed somewhere calmer. And the near-constant shade and moisture on parts of the neighborhood keep moss and mildew active on siding surfaces for much of the year, which traps additional moisture against the material long after a storm has passed.
None of that means siding in Birch Bay Village fails faster across the board — well-installed, climate-appropriate siding handles this exposure fine. It means the small failures that do happen tend to get worse faster if they're not addressed, and a repair here has to account for that instead of treating the job like a routine patch anywhere else.
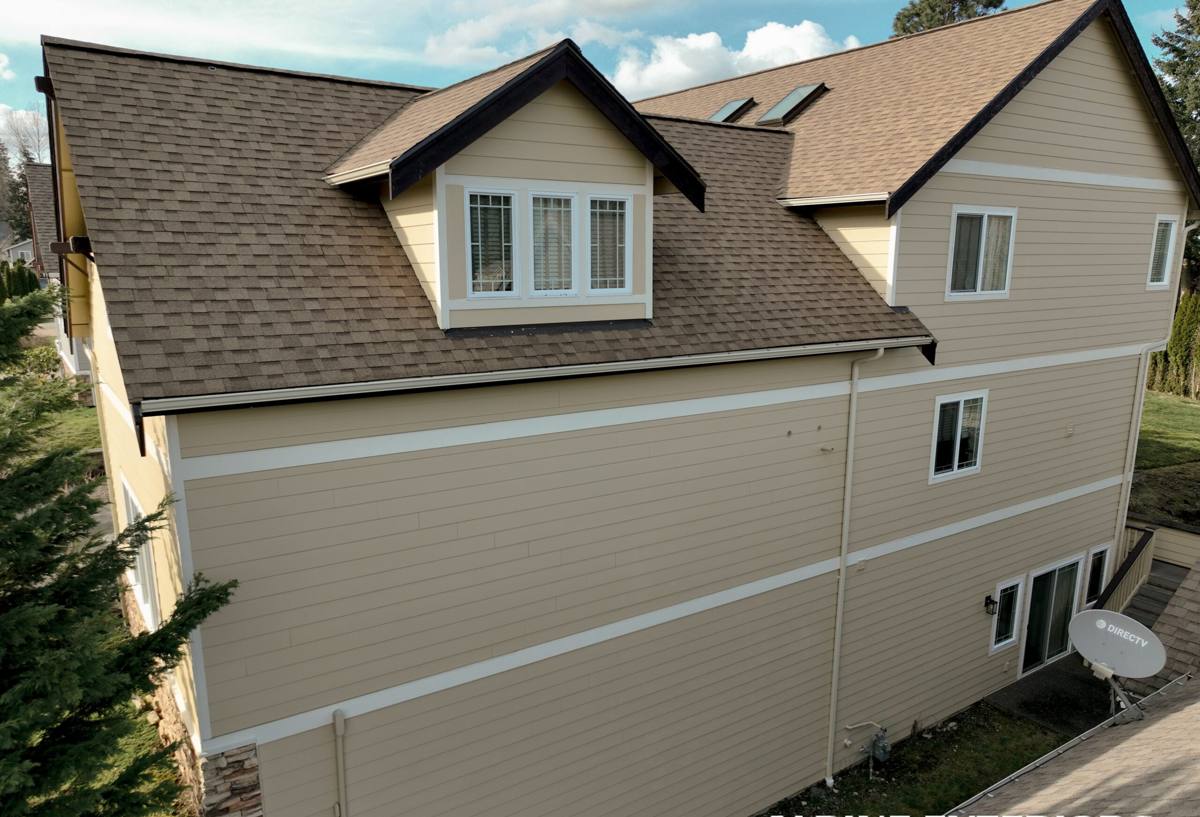
Common Repair Triggers We See in This Neighborhood
Housing Stock That Shapes the Work
Birch Bay Village includes a mix of older cabins and cottages that started out as seasonal or vacation properties, homes that have been added onto or converted for year-round living over the years, and newer construction built closer to current code. That mix matters for repair work because older homes often carry decades-old siding, trim, and flashing details that were fine when installed but were never built for the moisture load a full-time, insulated, heated house puts on a wall assembly.
The most common triggers we see are moisture intrusion at butt joints and corner boards where caulking has failed, impact damage from storms or falling limbs, rot in wood trim or fascia that sits behind or beside the siding, and — on older wood or engineered-wood siding specifically — swelling, delamination, or soft spots where water has been getting behind the material for a while before it became visible from the outside.
What's Different on Existing Hardie Siding vs. Other Materials
Repair work on existing James Hardie fiber cement siding is usually the most straightforward call we make, because the material itself doesn't rot, swell, or feed moss the way wood-based products do — damage is typically limited to impact cracks, caulking failure, or a fastener issue rather than the material breaking down on its own. Repairs on vinyl, LP SmartSide, cedar, or primed wood siding tend to be a different conversation, because by the time damage is visible on those materials, there's often more going on behind the surface than the damaged section alone. We'll walk through what we actually find once panels come off, honestly, before recommending a direction.
Repair vs. Replace: How We Make That Call
| Factor | Repair Usually Makes Sense | Full Replacement Usually Makes More Sense |
|---|---|---|
| Extent of damage | Isolated to one or a few sections | Spread across multiple walls or elevations |
| Underlying moisture | Surface-level, caught early | Found behind the siding at multiple points during removal |
| Age of existing siding | Newer material, still within its expected service life | Near or past the material's realistic lifespan |
| Color match | Close enough match available, or damage in a less visible location | Faded or discontinued color makes a clean match impossible |
| Material installed | Existing Hardie fiber cement in good condition elsewhere | Wood-based or vinyl product showing widespread wear |
| Cost over time | Lower upfront cost, addresses the immediate problem | Higher upfront cost, resets the clock on the whole exterior |
We won't push a full re-side when a repair genuinely solves the problem, and we won't patch a wall that's clearly telling us the whole siding system is at the end of its useful life. That call gets made after we've actually opened up the damaged area and looked at what's behind it, not from a walk-around estimate alone.
What a Correct Hardie Repair Involves
Diagnosing Before Patching
Every repair starts with removing enough surrounding material to see what actually caused the damage, not just covering the visible symptom. A cracked panel might be impact damage with nothing else going on behind it, or it might be sitting over a flashing detail that's been letting water in for years. We don't know which until we look, and we won't quote a repair without doing that first.
Fixing the Cause, Not Just the Panel
If the diagnosis turns up a flashing gap, a caulking failure, or a moisture path behind the siding, that gets corrected as part of the repair — replacing the visible panel without fixing what let water in behind it just buys a shorter repeat visit. This is where an honest repair takes longer than a quick swap, and where it's worth the extra time.
Matching Fastening and Clearances to Spec
James Hardie fiber cement has specific fastening patterns, joint clearances, and ground and roofline clearance requirements that matter for how the material performs over time. A repair section installed to those specs sits and drains the same way the surrounding original siding does — one installed loosely to spec is a soft spot waiting to fail again, often sooner than the section it replaced.
The Color-Match Reality
James Hardie's ColorPlus factory finish is baked on and holds color better over time than field-applied paint, but it does mean a repair section needs either the same ColorPlus color still in production, or a field-painted match blended as closely as possible. We'll tell you upfront which situation you're in — an exact factory match, a close paint match, or a case where the repaired section will be visible until a future full re-side — rather than promising a seamless result we can't actually deliver.
Our Repair Process, Start to Finish
- On-site assessment — we inspect the damaged area and the surrounding siding, and look for signs the problem extends further than what's visible
- Honest recommendation — repair, targeted section replacement, or a conversation about full re-siding, explained with the reasoning behind it
- Opening up the area — removing enough material to see the actual cause, not just the visible damage
- Correcting the underlying issue — flashing, caulking, or moisture path problems get fixed as part of the job, not left in place
- Installing the repair to spec — fastening, clearances, and joint details matched to manufacturer requirements
- Finish and color match — the closest available match, explained honestly before work starts
Practical Checklist Before You Hire for a Siding Repair
- Ask whether the estimate includes opening up the damaged area, or is based on a visual walk-around only
- Ask what happens if they find additional moisture damage once the siding comes off
- Get a straight answer on color match expectations before work starts, not after
- Confirm current Washington contractor licensing and insurance
- Ask how the repair addresses the underlying cause, not just the visible damage
- Get a written scope of work, including what's covered under warranty and for how long
Why Local Experience in Birch Bay Village Matters
Manufacturer repair guidance is written for average conditions in a moderate climate. Birch Bay Village doesn't fit that description — salt air, wind-driven rain, and a moss season that runs long on shaded walls all push failures to show up sooner and in different places than they would a few miles inland. A crew that has actually repaired siding on this specific stretch of coastline knows where the real risk tends to hide — behind a corner board that looks fine from the ground, under a window where caulking failed years before the damage became visible, on a north wall that never fully dries out between storms.
That experience also shapes the repair-versus-replace conversation. A contractor unfamiliar with this neighborhood's housing stock and exposure might default to the fastest fix; one who's done the work here knows when a patch is genuinely the right call and when it's just delaying an inevitable re-side, and will tell you which one you're looking at.
A Note on What We Install
We repair what's already on a home, whatever the material, and we'll always give an honest read on whether that's the right long-term move. When a repair turns into a conversation about a full re-side, our recommendation is James Hardie fiber cement — it's the only siding product we install new. It's non-combustible, holds its ColorPlus factory finish without the repainting cycle wood-based products need, and Whatcom County's coastal exposure is exactly the kind of environment its climate-engineered HZ5 formulation is built to handle. That's a separate conversation from a repair estimate, and we'll keep it separate — we're not going to turn a simple patch job into a sales pitch.
If you've got damaged, soft, or failing siding on a Birch Bay Village home, it's worth having someone open it up and look before assuming the worst — or before assuming a quick patch will hold. We offer free, no-pressure estimates for siding repair in Birch Bay Village and the surrounding area — use the form below to get a time on the schedule.