 Birch Bay Siding
 Building New in Custer? The Windows Have to Earn Their Keep
Custer sits close enough to Birch Bay and the Strait of Georgia that new homes here deal with a different set of conditions than a build twenty miles inland. Salt-laden air, wind-driven rain off the water, and a wet season that runs long enough to grow moss on anything that stays damp too long — all of that lands directly on your windows before it touches anything else. When a house is going up from the studs out, the window install is one of the few chances to get water management right the first time. Get it wrong at framing stage and you're not looking at a caulk touch-up in five years — you're looking at rot behind the siding.
This page is about one job specifically: installing new-construction windows in homes being built or substantially reframed in the Custer area. Not replacement windows dropped into an existing opening — actual nail-fin units set into open framing, integrated with the weather-resistive barrier, and flashed before siding or trim ever goes on.
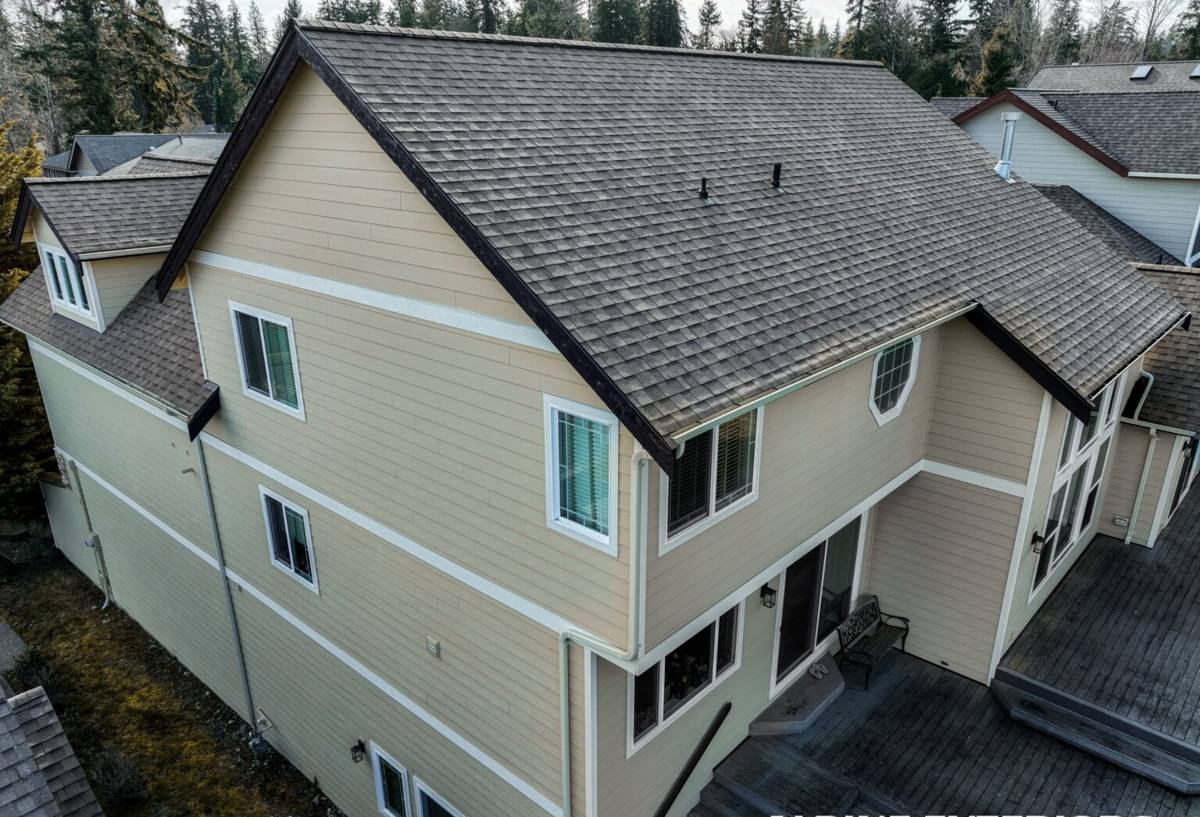
New-Construction vs. Replacement: Why the Distinction Matters Here
A lot of homeowners use "new windows" to mean both jobs, but they're built and installed differently, and mixing them up on a new build causes real problems.
- New-construction windows have a nailing flange around the perimeter. They're set into a framed, unfinished opening while the wall is still open, then flashed and integrated with the house wrap or building paper before siding goes on.
- Replacement (insert) windows are built to fit inside an existing frame, with no nailing fin, and are used when siding and trim are already in place and you don't want to disturb them.
- Using a replacement-style window on a new build — or vice versa — either compromises the water seal or forces a contractor to hack the installation to make it fit. Neither belongs on a new home in a climate this wet.
Because Custer builds are typically full new construction or additions with open framing, this job is almost always the nail-fin type, done in sequence with the weather barrier, flashing, and siding trades — not as a standalone swap.
What Custer's Climate Actually Demands From a Window Install
Salt Air
Proximity to Birch Bay and Puget Sound means airborne salt is a factor here in a way it isn't for inland Whatcom County. Salt accelerates corrosion on exposed fasteners, hardware, and lower-grade metal flashing. It's not usually the deciding factor in glass or frame material, but it does affect what fasteners and flashing metals we use around the opening — stainless or coated hardware instead of standard galvanized wherever it's exposed.
Driving Rain
Wind off the water pushes rain sideways, not straight down. That matters because a window that would stay dry under still-air rain in a sheltered inland lot can still take on water here if the head flashing, sill pan, and side flashing aren't lapped correctly. A new-construction install lets us build that protection in layers, correctly shingled from the bottom up, before the wall is ever closed in — something you can't fully redo after the fact.
Long Moss Season
Whatcom County's wet stretch runs long, and anywhere moisture sits — a horizontal sill, a poorly sloped nailing fin, a gap in the sealant bead — moss and algae get a foothold. On new construction, the fix isn't a bigger caulk bead; it's proper sill pan slope, a drainage gap where the assembly calls for one, and materials that don't give moss anything to grip in the first place.
What a Correct New-Construction Window Install Actually Involves
The window unit itself is maybe a third of this job. The rest is the water management system around it, which is where most leaks — and most callbacks we see on other people's work — actually originate.
Before the Window Goes In
- Rough opening checked square, level, and sized correctly to the manufacturer's tolerance — not "close enough."
- Weather-resistive barrier (house wrap or building paper) lapped correctly at the opening, with a sill pan flashing installed to shed any water that gets past the window back out, not into the wall cavity.
Setting the Window
- Window set into the opening, shimmed for square and plumb — not just fastened and hoped for.
- Nailing fin fastened per the manufacturer's schedule, sealed with a compatible flashing tape or sealant at the fin, not whatever happened to be on the truck.
After the Window Is Set
- Side flashing installed over the fin, then head flashing installed last, lapped over the sides — the shingle-lap sequence that keeps water moving out and down instead of behind the wall.
- Interior sealed and insulated around the frame so the opening isn't a thermal or air leak once siding closes it all up.
Skip or reorder any of those steps and the window can look perfect for years while quietly failing where you can't see it — behind the siding, inside the wall cavity, exactly where Custer's driving rain and long wet season will find the gap.
Materials and Glass: What Makes Sense for This Location
| Factor | Why It Matters in Custer | What We Typically Recommend |
|---|---|---|
| Frame material | Salt air and constant moisture cycling wear on frames over time | Vinyl or fiberglass frames with corrosion-resistant hardware; either performs well when installed and flashed correctly |
| Glass package | Wind-driven rain and marine humidity increase condensation risk on single-pane or poorly sealed units | Dual-pane, low-E glass as a baseline; upgraded gas-fill for west/water-facing elevations |
| Fasteners & flashing metal | Airborne salt corrodes standard galvanized fasteners faster near the water | Stainless or coated fasteners and flashing at all exposed points |
| Sill design | Standing water and long wet seasons promote moss and rot | Sloped sill pan flashing with a clear drainage path |
None of this is exotic — it's standard best practice for coastal Pacific Northwest construction. The difference is whether a crew actually follows it or treats it as optional because "it's just a window."
Cost Factors for a Custer New-Construction Window Job
Every build is different, so we won't quote a number without seeing the plans, but a few things consistently move the price:
| Factor | Effect on Cost |
|---|---|
| Window count and size | More openings and larger units mean more material and labor, but per-unit cost often drops with volume on a full build |
| Frame material and glass upgrade | Fiberglass and upgraded glass packages cost more than base vinyl and standard dual-pane |
| Wall exposure | Water-facing or high-wind elevations may warrant extra flashing detail or upgraded sealant systems |
| Coordination with framing and siding trades | Installing windows in sequence with other trades on a new build is more efficient than isolated retrofits |
| Site access | Elevation, scaffolding needs, or tight lot access on some Custer properties can add labor time |
Our Process on a New Build
We work directly with your builder or as your standalone window contractor, depending on how your project is set up.
- Plan review and walkthrough. We look at the window schedule, rough openings, and elevations — particularly which walls face prevailing wind and rain — before ordering anything.
- Material selection. We help you choose frame, glass, and hardware suited to a Birch Bay-area exposure, within your budget.
- Coordinated installation. We install windows at the correct point in the framing sequence, working with your weather barrier and siding trades rather than around them.
- Flashing and sealing, done in order. Sill pan, sides, then head — every time, no shortcuts based on "it probably won't leak."
- Final check. We walk every opening before siding closes it in, because that's the last point where a mistake is cheap to fix.
Questions Worth Asking Before Framing Closes Up
- Is a sill pan flashing being installed under every window, or just sealant?
- Are the fasteners and exposed flashing rated for a salt-air environment?
- Is the flashing sequence sill, then sides, then head — lapped in that order?
- What glass package is spec'd for water-facing or west-facing walls?
- Who inspects the openings before siding goes on, and what are they checking for?
Why Hiring a Crew That Already Works Custer Matters
Whatcom County's coastal exposure isn't uniform — a lot a half mile from the water sees different wind-driven rain patterns than one further inland, and Custer's mix of newer development and older rural parcels means rough opening sizes and framing practices vary more than you'd expect. A crew that's already installed windows on other builds in this area knows which elevations tend to take the worst weather, which flashing details actually hold up through a Whatcom County winter, and how to sequence the job with local framing and siding crews without duplicated or missed steps. That's not something you can fully substitute with a generic install checklist, no matter how good it is.
Let's Talk About Your Build
If you're framing a new home or addition in Custer or the Birch Bay area and want windows installed right the first time, we'll walk your plans, talk through material options, and give you a straightforward estimate — no pressure, no upsell script. Use the form below to get started.