 Birch Bay Siding
 Building New in Sandy Point Means Building for the Water
Sandy Point sits right on the water in Whatcom County, and that location shapes almost every decision that goes into a new home here. Homes are close to the shoreline, exposed to wind coming off Georgia Strait, and many sit low relative to sea level behind the dike system that has protected the community since it was first developed. If you're framing a new house or a major addition in Sandy Point, the windows you choose and how they're installed are one of the biggest factors in whether that building envelope holds up over the next few decades.
New-construction window work is a different job than swapping out an old window in an existing wall. It's done before the siding goes on, while the house is still open to the weather resistive barrier (WRB), and it has to be sequenced correctly with flashing, sill pans, and siding trim. Get that sequence wrong and you won't see the problem for years — until water finds its way behind the cladding and starts working on the framing from the inside.
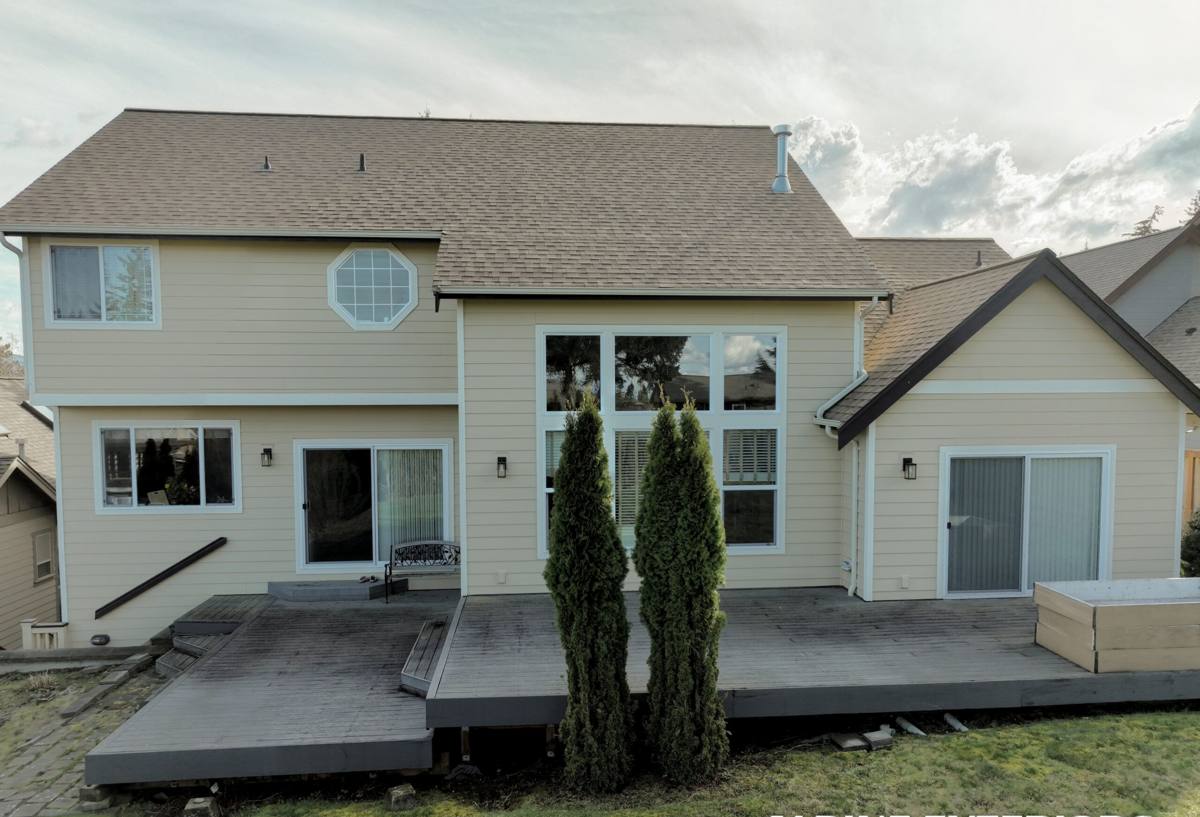
What Sandy Point's Climate Actually Does to a Window Installation
We work up and down this stretch of the Whatcom County coast, and Sandy Point has a specific combination of conditions that new-construction windows need to be detailed for:
- Salt-laden air — corrodes exposed fasteners, staples, and lower-grade hardware over time, and speeds up the breakdown of cheap sealants and gaskets
- Wind-driven rain — storms off the water don't just fall straight down, they push rain sideways into wall assemblies, which means flashing details matter more here than in sheltered inland lots
- A long moss and mildew season — the Pacific Northwest's wet, mild winters keep north- and water-facing walls damp for months, and any window opening that traps or channels moisture becomes a growth spot
- Low-lying, exposed lots — many Sandy Point properties sit close to grade and close to the dike, with less wind buffering than homes set back from the shoreline
None of this means new construction here is impossible to get right — it means the margin for error on flashing and sealing is smaller than it is elsewhere in the county, and it's worth hiring a crew that treats this stretch of coastline as normal working conditions rather than a special case.
What a Correct New-Construction Window Install Involves
Sequencing With the Building Envelope
New-construction (nail-fin) windows are installed into the rough opening before siding goes on, and they rely on a specific order of operations to work as a water-shedding system:
- Rough opening is checked for square, level, and correct sizing
- A sloped sill pan is installed at the bottom of the opening so any water that gets past the window has somewhere to drain — out, not into the wall
- The window is set, shimmed level and plumb, and fastened through the nailing flange per the manufacturer's schedule
- Flashing tape is applied in a shingle-lap sequence — sides first, then the top — so every layer overlaps the one below it, the way water actually runs
- The WRB (house wrap) is integrated back over the flashing at the top, maintaining the same shingle-lap principle
- Interior air sealing is completed separately from exterior weatherproofing, since the two do different jobs
Skip the sill pan, flash out of order, or seal the interior without air-sealing the exterior separately, and the window will look fine on install day and still cause problems within a few winters.
Coordinating With Siding, Not Working Around It
Because we're a siding contractor, we install new-construction windows as part of the same building envelope we're about to clad. That matters: the window trim, flashing, and siding starter details all have to line up, and the crew that sets the windows needs to know exactly how the siding will terminate around each opening. When window installation and siding are handled as two disconnected trades, the seams between them are where leaks start.
Choosing Frame Materials for This Environment
Frame material affects how a window holds up to salt air and constant moisture over time. There's no single "best" choice for every project — it depends on budget, the home's design, and how exposed the specific elevation is.
| Frame Material | Coastal Durability | Maintenance | Typical Cost Position |
|---|---|---|---|
| Vinyl | Good — won't corrode or rot; UV-stable formulations hold up well | Low — occasional cleaning, no painting | Most economical |
| Fiberglass | Very good — dimensionally stable, resists warping in wet/dry cycles | Low | Mid to upper-mid |
| Aluminum-clad wood | Good exterior protection, but any breach in the cladding exposes wood to moisture | Moderate — seams and joints need periodic inspection | Upper |
| Bare wood | Weakest in salt air and constant damp unless maintained closely | High — regular painting/sealing required | Varies |
For most new construction in Sandy Point, we steer clients toward vinyl or fiberglass for exposed elevations because they don't give salt air and moisture anything to work on. Where a homeowner wants the look of wood on the interior, a clad or composite option lets you get that appearance without putting bare wood on the weather side of the wall.
Hardware and Fasteners
Cheap fasteners are a false economy on the coast. We spec corrosion-resistant fasteners and hardware for new-construction installs here, because standard interior-grade screws and staples will start showing rust bleed through paint and caulk within a few seasons in salt air.
Our Process for New-Construction Window Jobs
Whether we're working directly for a homeowner building custom or alongside a general contractor on a spec or custom build, the process looks the same:
- Review the plans and rough opening schedule before framing is finalized, catching sizing or header issues early
- Walk the site once openings are framed to confirm dimensions and check the WRB is ready for integration
- Install sill pans, flashing, and windows in the correct sequence, elevation by elevation
- Coordinate directly with the siding install so trim, drainage plane, and cladding terminations line up cleanly
- Final walkthrough and documentation of what was installed and how, so there's a record tied to the home
We keep the GC or homeowner in the loop at each stage rather than disappearing until the punch list, because window flashing is one of the few parts of a build that gets covered up fast — it needs eyes on it while it's still visible.
Mistakes We See on Coastal New Builds
Most window failures we're called out to fix on newer homes trace back to a handful of recurring issues, not a bad window:
- No sill pan, or a flat sill pan with no slope to drain water back out
- Flashing taped bottom-to-top instead of shingle-lapped, so water runs behind the tape instead of over it
- Housewrap tucked under the flashing at the top instead of over it, reversing the drainage path
- Interior spray foam used as the only air seal, with no separate exterior weatherproofing
- Standard fasteners used on an exposed, salt-air elevation
Every one of these is invisible once siding goes on — which is exactly why the installation sequence matters more than the window brand.
A Practical Checklist Before You Sign Off on Window Rough-In
- Is there a sloped sill pan at every rough opening, not just a flat strip?
- Is flashing tape applied in the correct shingle-lap order — sides, then top?
- Does the WRB overlap the top flashing, rather than tuck underneath it?
- Are fasteners and hardware rated for coastal/marine exposure on exterior-facing elevations?
- Is there a clear plan for how siding trim will terminate around each window?
- Has someone documented the install with photos before it's covered by siding?
Why Hire a Crew That Already Works Sandy Point
A crew that mostly works inland jobs may never have had to think hard about wind-driven rain or salt air corrosion, because most of their projects don't face it. On Sandy Point's exposed lots, those conditions aren't an occasional storm event — they're the baseline. We've done window and siding work on this stretch of Whatcom County coastline enough to know which elevations need extra attention, what the dike-side exposure does to a wall assembly over time, and how to sequence a job so it holds up through a full Pacific Northwest wet season, not just through the punch-list walkthrough.
That local familiarity also means fewer surprises for the homeowner or GC — we're not learning the site conditions on your dime.
Get a Free Estimate for Your Sandy Point Build
If you're planning new construction or a major addition in Sandy Point and want windows installed correctly the first time — sequenced right, tied into the siding, and built for what this coastline actually throws at a house — we're glad to take a look at your plans. Use the form below to request a free, no-pressure estimate.