 Birch Bay Siding
 Why Sandy Point Siding Takes More Punishment Than Most
Sandy Point sits right up against the water, which means every board on a home here deals with a harder version of the weather that the rest of Whatcom County gets. Homes a mile inland might go years between siding problems. Homes on this stretch of shoreline usually can't say the same, because the combination of salt air, wind-driven rain, and a long stretch of damp, shaded months works on siding year-round, not just during storms.
Salt Air and Constant Coastal Exposure
Airborne salt is corrosive and it doesn't stay near the water's edge — wind carries it onto siding, trim, fasteners, and flashing across the whole property. Over time it breaks down caulk and sealants faster than inland exposure would, pits and corrodes exposed metal fasteners, and leaves a fine residue that holds moisture against the siding surface instead of letting it dry. Materials that aren't built to handle that combination age faster here than the manufacturer's general climate ratings would suggest.
Driving Rain and Wind-Driven Moisture
Open water exposure means rain at Sandy Point rarely falls straight down. Wind pushes it sideways into wall assemblies, which puts far more stress on seams, laps, butt joints, and trim connections than a sheltered inland wall ever sees. A siding system that's watertight in calm weather can still let moisture in in wind-driven conditions if the laps, flashing, and caulk lines aren't detailed correctly.
The Long Moss Season
Western Whatcom County's damp, mild fall-through-spring stretch is long, and shaded or north-facing walls near the water rarely get enough sun and airflow to dry out fully between rain events. That's exactly the environment moss and algae need. Left alone, that growth holds moisture against the siding surface, which accelerates rot in wood-based products and breaks down caulk and paint film faster than a dry wall ever would.
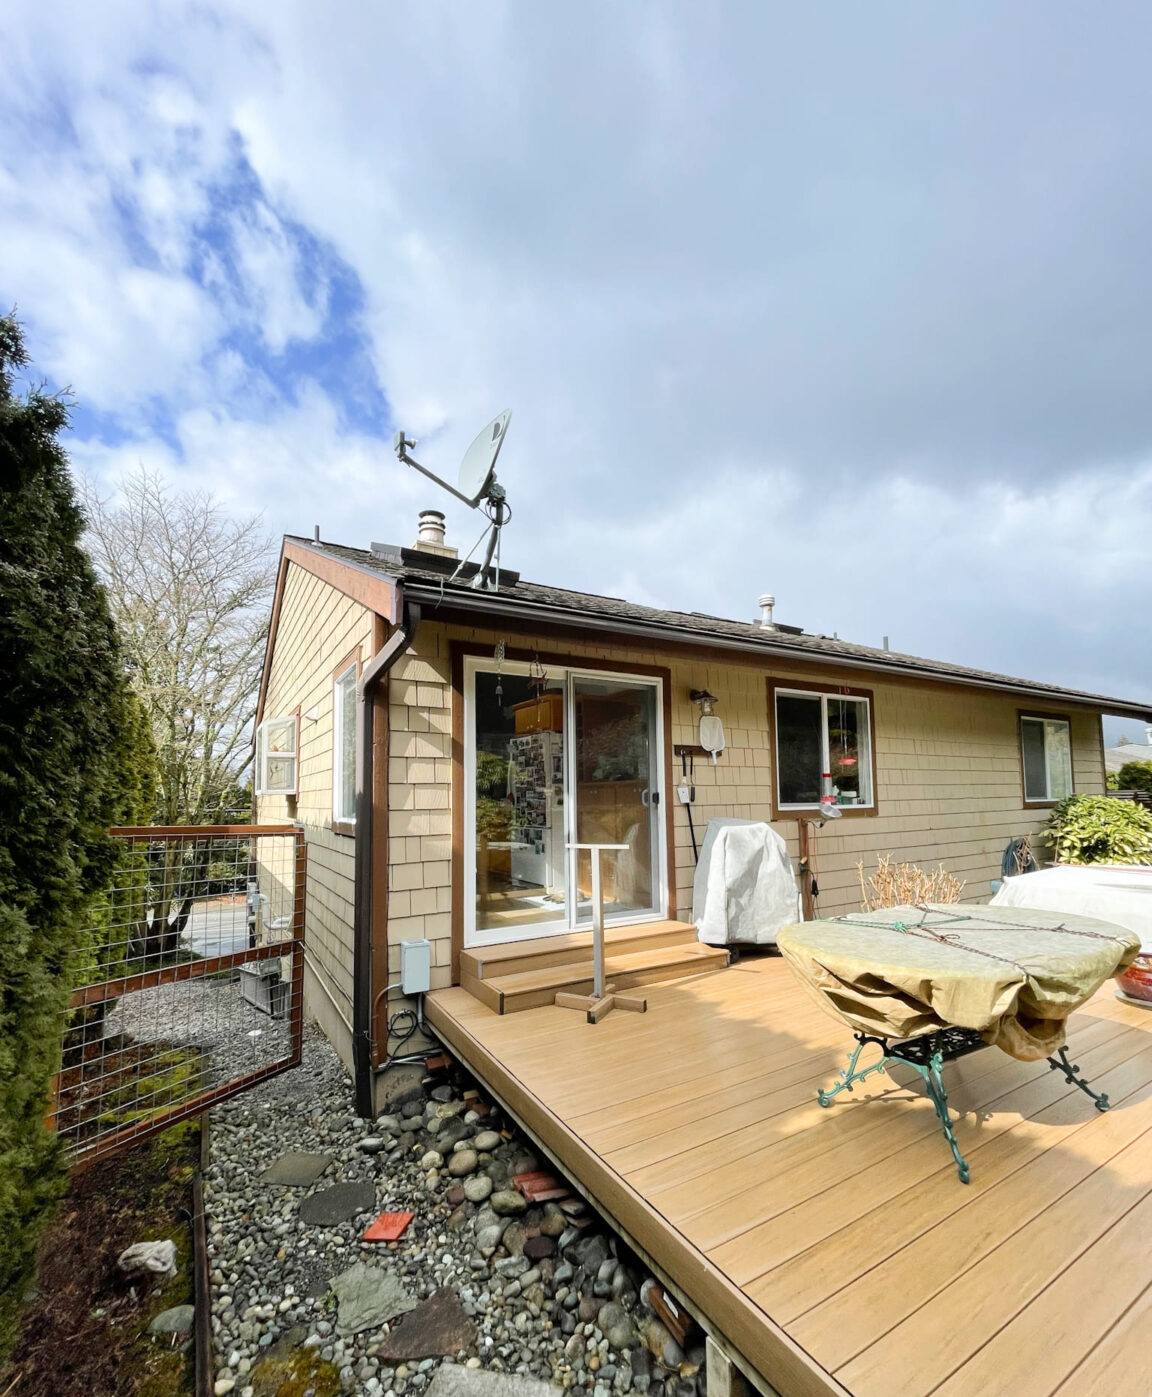
The Siding Problems We Actually Find on Sandy Point Repair Calls
Most repair calls in this neighborhood fall into a handful of predictable categories. Recognizing them early is the difference between a straightforward repair and a much larger one.
- Cracked, cupped, or delaminating boards — common on older wood-based or engineered wood siding that's absorbed repeated wet-dry cycles
- Moisture damage at butt joints and corners — the seams where two pieces of siding meet are the most common entry point for wind-driven rain
- Failed or shrinking caulk lines — salt air and UV exposure age caulk faster, and once it cracks, water gets behind the siding
- Moss and algae staining on shaded or north-facing walls — a sign of a wall that isn't drying out between rain events
- Nail pops and loose panels — often from corroded or undersized fasteners that were never rated for coastal exposure
- Soft or rotting trim and fascia boards — wood trim around windows, doors, and corners is usually the first thing to fail, even when the field siding is still sound
What an Actual Repair Involves — Not Just a Patch
A siding repair that's done right addresses why the damage happened, not just what's visible. Caulking over a crack or nailing a loose board back down might look fine for a season, but if the underlying cause isn't fixed, the same spot fails again — usually worse the second time.
Diagnosing the Real Cause First
Before any repair starts, we look at what's actually driving the damage: is water getting in through a failed seam, a missing flashing detail, a gap where trim meets siding, or is the material itself simply breaking down from age and exposure? Repairing the visible symptom without addressing the water path behind it is the single most common reason siding repairs don't last.
Matching Material, Profile, and Reveal
Replacement sections need to match the existing siding's exposure, profile, and butt-joint spacing, or the repair sticks out and the water-shedding lap pattern gets disrupted. On homes with painted or factory-finished siding, color and sheen matching matters too — a patch that's an obvious different shade doesn't do the home any favors.
Sealing, Flashing, and Fastener Details
This is where coastal repairs differ most from inland ones. We use fasteners and flashing rated for corrosive, salt-air environments, and we pay close attention to how new material integrates with existing house wrap, flashing tape, and trim — a repair that looks finished but leaves a gap behind the siding just relocates the moisture problem instead of solving it.
Repair or Replace? How We Help You Make That Call
Not every damaged section needs full replacement, and not every home is a good candidate for spot repairs. The right call usually comes down to how localized the damage is, how old the existing siding is, and what's driving the failure.
| Factor | Favors Repair | Favors Replacement |
|---|---|---|
| Extent of damage | Isolated to a few boards or one wall | Spread across multiple walls or elevations |
| Age of existing siding | Relatively recent, otherwise sound | Original siding is decades old and failing broadly |
| Root cause | One-off event (impact damage, a single failed seam) | Systemic moisture intrusion or material breakdown |
| Material match | Matching material is still available | Discontinued profile or color, or original material is one we don't recommend for this exposure |
| Underlying sheathing | Sheathing is dry and sound behind the damage | Rot has spread into sheathing or framing |
We'll always tell you honestly which side of that table your home falls on. If a repair will hold up to Sandy Point's exposure, that's what we recommend — there's no reason to sell a full replacement when a proper repair does the job.
Our Sandy Point Siding Repair Process
- On-site inspection — we walk the exterior, check the areas you're concerned about, and look for related issues you may not have noticed, especially around trim, corners, and shaded walls
- Honest diagnosis — we explain what's causing the damage, not just what it looks like, and whether it's isolated or a sign of a broader problem
- Straightforward scope and pricing — you get a clear explanation of what the repair involves before any work starts
- Correct execution — matched material, proper flashing and sealing details, and fasteners rated for coastal exposure
- Cleanup and walkthrough — we review the completed work with you before we consider the job done
Why We Repair and Replace With James Hardie Fiber Cement — Not Vinyl or Wood
When a repair calls for new material — whether it's a few replacement boards or a full section — we use James Hardie fiber cement, and that's the only siding product we install. It's a deliberate standard, not a default.
Wood-based and engineered wood siding is exactly what struggles most in an environment like Sandy Point's: repeated wet-dry cycling from wind-driven rain and a long damp season is what causes the cupping, delamination, and rot we see on repair calls in the first place. Vinyl siding can hold up reasonably well against moisture, but it isn't rigid enough to stay flat and tight against a wall the way fiber cement does, and its color is baked in rather than factory-finished, which shows over years of UV and salt exposure. Neither is what we'd want to put back on a home in this location, even for a repair.
James Hardie fiber cement is engineered specifically for wet, coastal climates through its HZ5 product line, resists moisture-driven damage far better than wood-based siding, and carries a factory-applied ColorPlus finish that holds color longer than field-applied paint — which matters for both new sections and long-term appearance matching. It's also non-combustible, which is a genuine advantage independent of the moisture question. When a repair calls for new material, this is what goes on the wall.
Why It Matters to Hire a Crew That Already Works This Area
Siding repair isn't a one-size-fits-all trade, and coastal Whatcom County homes have specific failure patterns that a crew without local experience can miss. A contractor who mostly works inland may not think twice about caulk specs, fastener corrosion resistance, or how aggressively moss needs to be addressed on a shaded, waterfront wall — because those aren't problems they see every day. A crew that regularly works Birch Bay and Sandy Point knows what to check first, what tends to fail here, and how to detail a repair so it actually holds up to the next few winters of wind-driven rain, not just the next dry season.
That local knowledge also shows up in smaller ways: knowing which walls on a typical Sandy Point property take the worst of the weather, understanding how salt air affects material and fastener choices, and having a realistic sense of how long a given repair should last in this specific environment before you need to think about it again.
A Maintenance Checklist for Sandy Point Homeowners
Between professional inspections, a few simple habits go a long way toward catching problems before they turn into a repair call.
- Walk the exterior twice a year — once in fall before the wet season and once in spring — and look closely at corners, trim, and butt joints
- Check caulk lines around windows, doors, and siding seams for cracking or shrinkage
- Keep an eye on shaded and north-facing walls for early moss or algae growth, and address it before it spreads
- Look for soft spots in trim and fascia boards by pressing gently — wood trim fails before fiber cement field siding usually does
- Keep gutters clear so overflow isn't running down the siding face
- Trim back vegetation and landscaping that's keeping any wall shaded and damp longer than necessary
- Address small issues — a loose board, a cracked caulk line, a rusted fastener — as soon as you notice them, before wind-driven rain finds the gap
If you're seeing cracked or loose boards, moss buildup, or soft trim on a Sandy Point home, it's worth getting an honest look before the next wet season makes it worse. We offer free, no-pressure estimates — we'll tell you plainly whether you're looking at a repair or something bigger, and what we'd recommend either way.