 Birch Bay Siding
 Siding Repair Built for Terrell Creek's Conditions
Terrell Creek sits close to the Birch Bay shoreline in Whatcom County, tucked among mature trees and low, damp ground that drains toward the water. That location is part of what makes the neighborhood a nice place to live — and part of what makes siding wear out faster there than it does twenty miles inland. Homes here deal with three stressors at once: salt-carrying air off the bay, wind-driven rain that hits walls sideways instead of falling straight down, and a moss season that can run from early fall through late spring under all that tree canopy.
None of those three problems is dramatic on its own. A little salt haze, a little extra moisture, a little moss at the base of a wall — none of it looks urgent. But siding damage in this area is almost always cumulative. It builds quietly behind caulk lines, at butt joints, and along the bottom courses until a homeowner notices soft trim, a stain that won't wash off, or paint that's peeling in the same spot every year. Repair work in Terrell Creek is less about patching a single dramatic problem and more about catching that slow accumulation before it turns into rot, sheathing damage, or a much bigger bill.
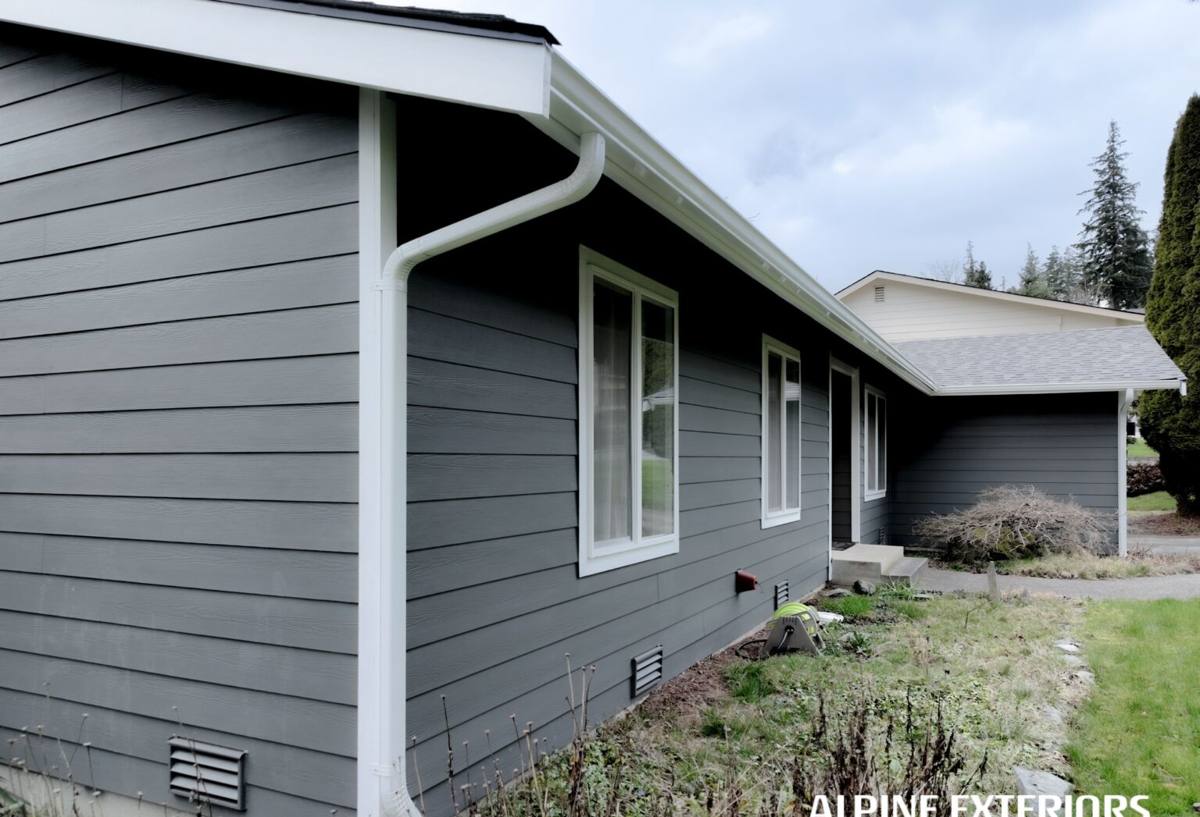
Where Repair Problems Actually Start
Seams, Butt Joints, and Caulk Lines
Every horizontal lap siding system has butt joints where one piece ends and the next begins. In most of the country those joints just need decent caulk and occasional touch-up. Near Birch Bay, wind-driven rain pushes water sideways into those same joints far more often, and salt air breaks down caulk elasticity faster than it does in a drier inland climate. Once a joint opens up even slightly, water gets behind the siding and starts working on the wood sheathing or framing underneath — long before anything looks wrong from the driveway.
Trim, Corner Boards, and Penetrations
Corner boards, window and door trim, and any spot where a pipe, vent, or light fixture penetrates the wall are the next weak point. These are the areas most likely to have been caulked once at installation and never touched again. Given the volume of rain this area sees and the way tree cover keeps things damp longer after a storm, those original caulk joints often need attention years before the siding field itself does.
Bottom Courses and Grade Clearance
Moss and organic debris tend to collect at the base of walls, especially on shaded, north-facing sides of a house or anywhere landscaping has crept up over the years. When moss sits against siding, it holds moisture against the surface far longer than open air would allow. On wood-based products that means real rot risk. Even on more moisture-tolerant materials, prolonged contact with wet moss and mulch will eventually stain, degrade paint film, and soften trim if it's left unaddressed season after season.
Repair or Replace? How We Make That Call
Not every problem calls for full replacement, and we don't try to sell one when a targeted repair will hold up. The table below covers the factors we actually weigh on a Terrell Creek inspection.
| Situation | Usual Recommendation | Why |
|---|---|---|
| Isolated damage at one or two joints, corners, or penetrations | Targeted repair | Localized water entry that hasn't spread to the field of the wall |
| Soft or spongy siding across multiple courses on one elevation | Section replacement | Usually signals sheathing moisture that a surface patch won't solve |
| Recurring moss staining at the base of walls, siding otherwise sound | Cleaning, drainage correction, and spot repair | Addresses the moisture source, not just the symptom |
| Widespread paint failure or fading with siding still structurally sound | Repair plus refinish, or plan for future full replacement | Cosmetic issue now, but a signal the material is aging out |
| Damage on siding that's already past its expected service life | Full replacement | Repeated patching on end-of-life material rarely pays off |
What a Correct Repair Actually Involves
A repair that looks fine on the day it's finished but fails again in two years isn't really a repair — it's a delay. Doing it correctly, especially given how much water this area sees, means more than swapping a board and caulking the edges.
- Confirm there's no hidden moisture in the sheathing or framing behind the visible damage before closing anything up
- Repair or replace the weather-resistant barrier at the damaged area, not just the siding surface
- Match the reveal, profile, and fastening pattern of the surrounding siding so the repair doesn't stand out or create a new water path
- Prime or seal any cut edges before installation, since exposed edges are the fastest way for moisture to re-enter
- Use flashing and correct lap sequencing at joints and penetrations rather than relying on caulk alone to do the work
- Finish with a caulk and paint or factory-finish match appropriate to the existing wall
Skipping any one of those steps is how the same spot ends up needing repair again a couple of winters later.
Why We Repair and Rebuild With James Hardie Fiber Cement
Our company installs only James Hardie fiber cement siding, and that carries into how we approach repair work too. When a Terrell Creek home already has Hardie siding, repairs are usually straightforward — the material is non-combustible, engineered for wet climates through Hardie's HZ5 product line, and finished with the factory ColorPlus system, which holds color and resists the fading and chalking that field-applied paint struggles with in salty, sun-and-rain-cycled air. A well-matched Hardie repair blends into the existing wall and carries the same long-term durability as the rest of the house.
When a home has vinyl, LP SmartSide, cedar, or another wood-based or engineered-wood siding, we'll still repair what we can. But we're honest about the limits: profiles get discontinued, colors fade unevenly so a patch can be visible even when it's done well, and wood-based products are more vulnerable to the exact combination of moisture and shade that Terrell Creek's tree cover and moss season create. In those cases we'll tell you plainly what a repair can and can't fix, and if a section is far enough gone, we'll talk through what a transition to Hardie for that wall — or eventually the whole house — would look like. That's a decision for you to make on your timeline, not a sales pitch attached to a repair call.
Signs Your Terrell Creek Home Needs Siding Repair Now
- Soft, spongy, or bouncy siding when pressed near the bottom courses or below windows
- Moss or dark green-black staining that keeps coming back in the same spot after cleaning
- Caulk that's cracked, shrunk, or pulled away from joints, corners, or trim
- Paint or finish that's peeling or bubbling in patches rather than fading evenly
- Visible gaps at butt joints or where siding meets window and door trim
- A musty smell or interior wall staining on the same side of the house as visible exterior damage
- Warped, cupped, or separating boards, especially on shaded or north-facing walls
Why Local Experience Matters for This Kind of Work
Siding repair looks similar on paper everywhere — find the damage, fix the water path, match the material. What changes is knowing where to look first. A crew that regularly works Birch Bay and the Terrell Creek area already knows that north- and west-facing walls under tree cover tend to hold moss and moisture longest, that salt air shortens the working life of caulk and exposed fasteners compared to drier parts of Whatcom County, and that a wind-driven storm off the bay puts water into places a straight-down rain never would. That's the difference between a repair that treats the visible symptom and one that actually addresses why the damage showed up there in the first place.
It also means fewer surprises during the job itself — knowing what moisture levels are normal for this area's framing lumber, what drainage patterns are common on Terrell Creek lots, and how much of a margin to build in around grade clearance and landscaping so the repair doesn't just fail again in the same spot next moss season.
What to Expect From an Inspection
A repair estimate on a Terrell Creek home starts with a full walk-around, not just a look at the spot you called about. Damage in one area is often an early warning for the same conditions developing elsewhere on the house, particularly on shaded or bay-facing walls. We'll check moisture levels where we can access them, look at caulking and flashing at every joint and penetration, and give you a straight answer on whether you're looking at a simple patch, a section replacement, or something bigger — along with what happens if it's left alone through another wet season.
If you're seeing early signs of trouble on your Terrell Creek home — recurring moss stains, soft spots, or caulk that's given up — it's worth having someone look before another rainy season pushes the problem further into the wall. Reach out for a free, no-pressure estimate using the form below and we'll walk the property with you.