 Birch Bay Siding
 Windows Built for the California Creek Environment
Homes along California Creek sit close enough to the water and open shoreline that they take on the same weather load as the rest of Birch Bay and northern Whatcom County — salt-laden air, wind-driven rain that comes in sideways more often than straight down, and a wet season that stretches on long enough to grow moss on anything that stays damp. Windows are one of the first places that weather finds a way in. A frame joint that's a little loose, a sill that was never properly flashed, or a seal that's outlived its rated life will let moisture work into the wall cavity long before you see a stain on the drywall inside.
This page is specifically about window installation for California Creek properties — not a general overview of windows everywhere. The approach we take here is shaped by what actually happens to windows in this specific pocket of coastline: the salt exposure, the rain angle, and the shade and moisture that keep moss and mildew active for much of the year.
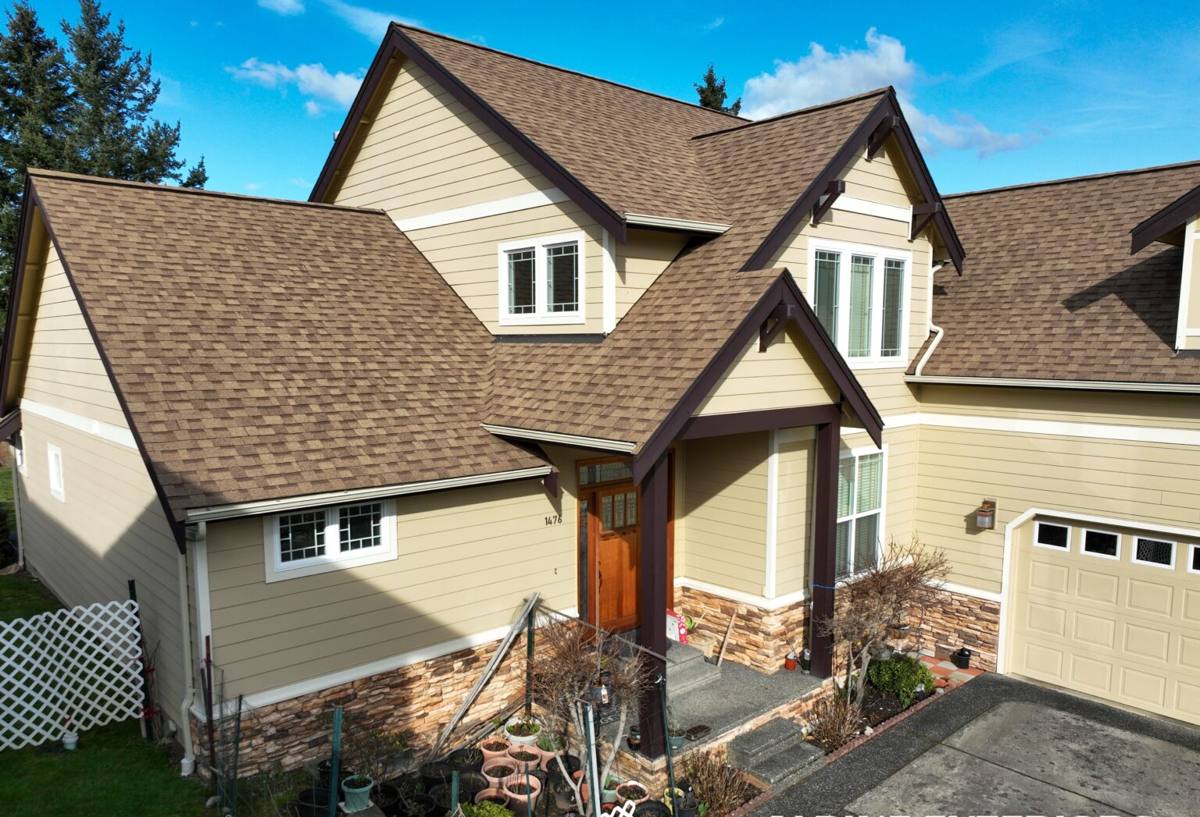
What Salt Air, Driving Rain, and Moss Season Actually Do to Windows
Salt Air
Salt in the air settles on every exterior surface, including window frames and hardware. On lower-grade vinyl and aluminum components, it accelerates the breakdown of gaskets and weep systems over time, and it corrodes exposed fasteners and hinge hardware faster than it would a few miles inland. This is a slow process — it's not something that shows up in year one — but it's cumulative, and it's part of why frame material and hardware quality matter more here than in a drier, inland part of the county.
Driving Rain
Wind off the water pushes rain horizontally into siding and window openings rather than letting it run straight down and off. That means the flashing and sealant detail around a window opening has to actually shed water sideways and downward, not just sit there looking finished. A window that would perform fine in a sheltered inland yard can leak here if the flashing sequence wasn't built for wind-driven water.
Moss and Sustained Moisture
Shaded, north-facing, or tree-lined exposures near the creek stay damp for extended stretches, which is exactly the condition moss and mildew need. Moss itself doesn't damage a window, but it holds moisture against trim and sills, and it's often a visible sign that water is sitting somewhere it shouldn't be — which is worth checking before it becomes a bigger problem underneath.
Signs a California Creek Home Needs New Windows or a Reinstall
Not every window that looks tired needs full replacement, but these are the signals we take seriously on a coastal property:
- Fogging or condensation trapped between panes on a dual-pane unit — the seal has failed
- Soft or discolored trim, sill, or drywall below or around the window
- Visible gaps, drafts, or daylight around the frame when the window is closed
- Difficulty opening, closing, or locking — frames can swell, warp, or shift out of square
- Moss or dark staining on the sill, brick mold, or siding directly around the opening
- Paint or finish that's peeling specifically at the window perimeter but nowhere else
- A noticeably colder draft near the window compared to the rest of the room
If you're seeing more than one of these, it usually means water has already found a path — the fix isn't just a new window, it's correcting whatever let moisture in around the old one.
What a Correct Window Installation Involves
A window installation is only as good as the parts nobody sees once the trim goes back on. For this location, we treat these steps as non-negotiable, not optional upgrades:
- Opening inspection. Before anything goes in, we check the rough opening, sill pan, and surrounding sheathing for existing rot or moisture damage. If the substrate is compromised, replacing the window without addressing it just seals the problem back up.
- Sill pan flashing. A sloped, sealed sill pan gives any water that does get past the window a path back outside instead of into the wall.
- Weather-resistive barrier integration. Flashing tape and house wrap have to be layered correctly — top over bottom, like shingles — so water sheds down and out rather than getting trapped behind the siding.
- Proper shimming and fastening. The unit has to sit square and supported at the manufacturer's specified points, or it will rack over time and the seals will fail early.
- Sealant selection and placement. Not every gap gets caulked — some need to stay open as drainage or ventilation paths. Sealing the wrong spot traps moisture instead of releasing it.
- Interior air sealing. Low-expansion foam or backer rod around the interior perimeter cuts drafts and helps with condensation control without over-pressurizing the frame.
A Pre-Installation Checklist We Walk Through On Site
- Confirm exact opening size and check for square, level, and plumb
- Identify and document any existing water damage or rot before removal
- Verify the new unit's flashing flange and drainage design matches wall assembly
- Confirm frame material and glass package are appropriate for sun and wind exposure at that elevation
- Plan interior and exterior trim tie-in so finish work matches existing siding and casing
Choosing the Right Window Materials for This Location
There's no single "best" window — the right choice depends on the specific wall, exposure, and budget. For a property this close to the water, here's how the common frame materials generally compare:
| Frame Material | Salt Air / Moisture Behavior | Maintenance | Typical Fit For California Creek |
|---|---|---|---|
| Vinyl | Won't rust or rot; quality varies a lot by manufacturer | Low — occasional cleaning | Good value option; stick with heavier-gauge, well-reviewed lines |
| Fiberglass | Very stable in moisture and temperature swings; resists warping | Low | Strong long-term fit for exposed elevations |
| Wood (clad exterior) | Exterior cladding protects wood core from direct weather | Moderate — watch for finish wear at joints | Works well when detailing and drainage are done right |
| Aluminum | Conducts cold and can corrode faster in salt air over time | Moderate | Generally our lower recommendation for direct coastal exposure |
We'll talk through these trade-offs honestly during your estimate rather than pushing one product line — the right call depends on which wall of the house we're talking about, how exposed it is, and what you're trying to balance between upfront cost and long-term upkeep.
New Construction vs. Retrofit (Insert) Replacement
Most window replacement work in this area falls into one of two categories, and the choice affects both cost and how thoroughly we can address moisture issues.
Retrofit / Insert Replacement
The new window is built to fit inside the existing frame, which stays in place. This is faster and less invasive, and it's a reasonable option when the existing frame and surrounding wall are dry and sound. It is not the right call if there's already rot or a history of leaking — inserting a new window into a compromised opening just buries the problem again.
Full-Frame Replacement
The old window and its frame are removed down to the rough opening, exposing the sheathing and structure. This costs more and takes longer, but it's the only way to fully inspect and rebuild the flashing and sill pan — which matters most on elevations that take the brunt of wind-driven rain. For homes near the creek with any sign of past water intrusion, we generally recommend this route even though it's the harder path.
Our Installation Process, Start to Finish
We keep the process straightforward and don't skip steps to save time:
- On-site assessment. We look at each window opening individually — sun exposure, wind exposure, and any visible moisture history differ window to window on the same house.
- Product recommendation. Based on that assessment, we recommend frame material, glass package, and retrofit vs. full-frame approach for each opening.
- Careful removal. Old units and trim come out without unnecessary damage to surrounding siding or interior finish.
- Structural check and repair. Any rot or compromised sheathing gets addressed before the new window goes in — not patched over.
- Correct flashing and installation. Sill pan, flashing tape, shimming, and fastening done to manufacturer spec and sequenced for this climate.
- Sealing and trim. Interior and exterior finish work to match existing trim lines as closely as possible.
- Final walkthrough. We test operation, check seals, and walk the job with you before we call it done.
Why Hiring a Crew That Already Works California Creek Matters
Window installation isn't a one-size-fits-all trade skill. A crew that mostly works drier, inland jobs may not think twice about flashing detail that's forgiving in that environment but inadequate here. Working regularly in Birch Bay and the surrounding Whatcom County coastline means we've seen how wind-driven rain actually behaves against these homes, which elevations take the worst of it, and where moss and trapped moisture tend to show up first. That's the kind of judgment that doesn't come from a manufacturer's install manual alone — it comes from doing this work, on this coastline, repeatedly.
It also means we're not guessing at product recommendations. We know which frame materials and glass packages hold up here and which ones create maintenance headaches for homeowners a few years down the road.
Caring for New Windows After Installation
A correctly installed window still benefits from basic upkeep in this climate:
- Rinse salt residue off frames and glass periodically, especially on elevations facing open water or wind
- Keep weep holes at the base of the frame clear of debris so drainage isn't blocked
- Check exterior caulking annually and touch up before gaps open up
- Trim back vegetation that keeps a window shaded and damp longer than necessary, which slows moss growth
- Wipe down interior sills after heavy condensation events, particularly in colder months
None of this is complicated, but skipping it is how a well-installed window still ends up with avoidable problems a few years in.
Get a Straightforward Estimate
If you're dealing with drafty, foggy, or hard-to-operate windows on a California Creek property, or you're planning ahead before the wet season sets in, we're happy to take a look and give you an honest read on what your windows actually need — no pressure, no upsell. Use the form below to request a free estimate.